Your own static site, today and for free!
How to create static site with Jekyll
Oh, hello there! Today, I want to talk about an applicable theme - how to set up and run your own site with Jekyll. Whether it’s a blog, landing page, CV site, or something along those lines, a few pages are all you need for your web venture.
Prerequisites
First things first, you need to figure out the type of site you want to run, right? Otherwise, why are you even reading this article? :D
You should have a basic understanding of git and GitHub, markdown, and DNS.
It’s also beneficial to have a grasp of HTML, CSS, and Bootstrap since many Jekyll themes utilize Bootstrap. You might need to customize your Jekyll theme eventually, but don’t worry, you can learn these things as you go along.
By the way, ever wondered what Jekyll is, anyway?
Easy-to-Use Static Site Generator
Jekyll stands out as a popular open-source static site generator. It empowers developers to craft websites and blogs by creating content in plain text or markdown and organizing it within a specific directory structure. Jekyll then processes these files to generate a static website, ready to be hosted on various web servers.
In contrast to dynamic websites that generate content on-the-fly when a user accesses a page, static websites are pre-built and served as-is to users. This approach leads to faster loading times and enhanced security, eliminating the need for server-side processing or database queries.
Jekyll enjoys widespread adoption among developers, bloggers, and website creators due to its simplicity and flexibility. It’s crafted using the Ruby programming language and benefits from robust support from a large community of users and contributors. Moreover, Jekyll seamlessly integrates with GitHub Pages, making it a preferred choice for developers seeking reliable hosting for their websites and blogs.
In fact: you are reading now blog runs on Jekyll with GitHub Pages too! :)
Register a GitHub Account
Feel free to skip this section if you already have a GitHub account and are familiar with Git version control system.
In case you haven’t registered for a GitHub account yet, go ahead and create one.
GitHub serves as a web-based hosting service for version control using Git. It provides all the functionality of Git for distributed version control and source code management (SCM), along with its unique features.
Once you’ve created your account, you need to establish a new repository following this naming convention: <your username>.github.io.
For instance, my GitHub username is m0n0x41d:
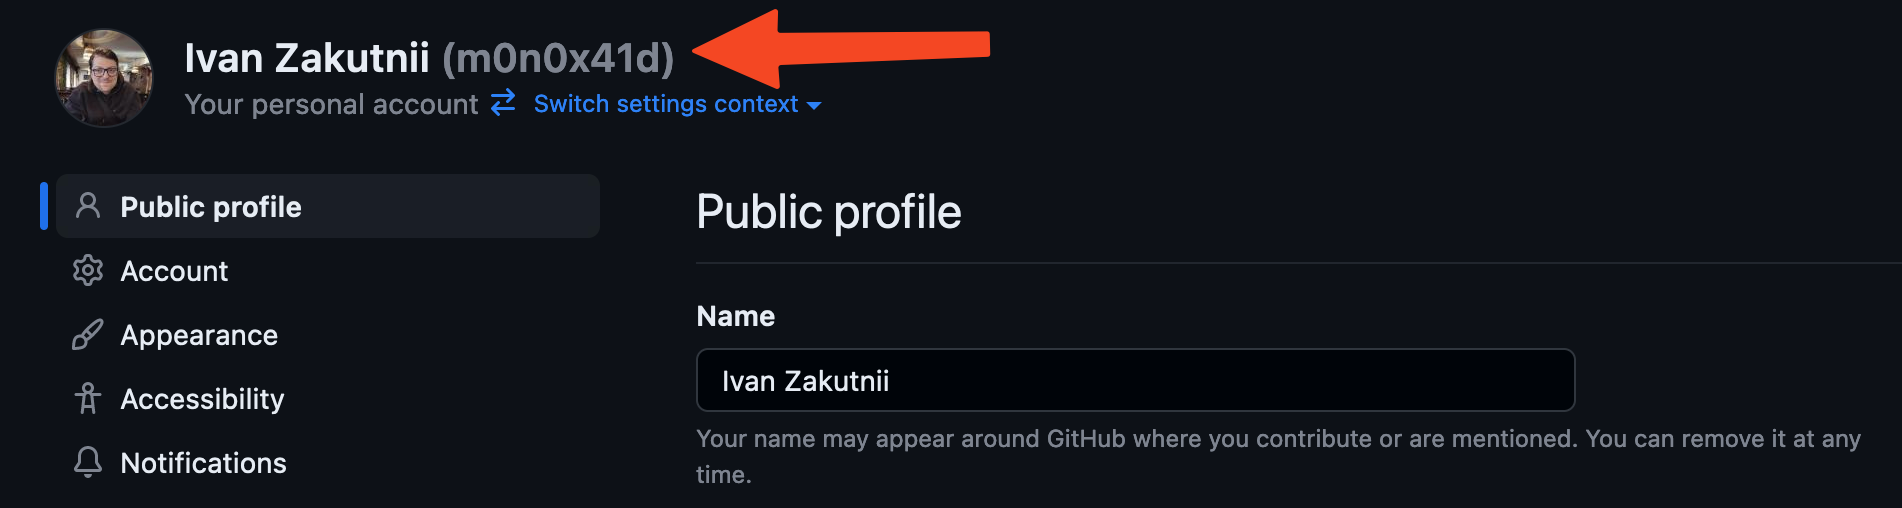
You can find your username in settings if you are logged into GitHub.
So, the repository serving as the source for this blog is named: m0n0x41d.github.io
Alright, let’s move on.
Before proceeding, make sure you understand how to clone, pull, and push Git repositories. If you’re uncertain about these actions, take a moment to review this guide or this one. The latter tutorial seems more beginner-friendly, in my humble opinion.
Install Jekyll and Choose a Theme
Assuming you already have Git and an IDE installed on your machine, there are a few more steps to take before starting your site.
By the way, if you’re using VsCode, there is few more benefits of having GitHub account - you can log into it directly in the IDE and access some cool features, such as syncing IDE settings between machines or forwarding your machine ports for free through Microsoft’s reverse proxy (like ngrok) starting from VS Code version 1.82.
According to the current Jekyll documentation, you need to install these prerequisites:
- Ruby version 2.5.0 or higher
- RubyGems
- GCC and Make
On apt-based Linux distributions, it’s as easy as running these commands:
sudo apt-get install ruby-full build-essential zlib1g-dev

echo '# Install Ruby Gems to ~/gems' >> ~/.bashrc
echo 'export GEM_HOME="$HOME/gems"' >> ~/.bashrc
echo 'export PATH="$HOME/gems/bin:$PATH"' >> ~/.bashrc
source ~/.bashrc

gem install jekyll bundler
And voilà, you’re almost there!
For installation guides on different operating systems, you can find them here.
I won’t delve into “themeless” Jekyll here because there are plenty of excellent, royalty-free themes created by the community. Take some time to choose a theme that suits your preferences and needs. You can explore options on GitHub or visit this gallery site.
Allow me to recommend two themes: TeXT and portfolYOU. I’m currently using the latter. Both of these themes are well-documented and easy to set up. Actually, most themes you’ll find will have some form of documentation. Look for “User Manual” or “Documentation” links or sections in the theme repository’s README.me.
Essentially, what you need to do now is clone the theme you like and copy all its content into your own repository. After that, take some time to explore the theme’s documentation; they usually provide detailed setup instructions.
If, by any chance, you don’t find a theme that suits you, you can always create your own.
A default Jekyll site can be initialized using:
jekyll new my_site
Here, my_site will be a directory where Jekyll creates all the necessary files. If you choose this route, use your GitHub repository name instead of my_site.
However, from this point onward, you’re on your own. This post doesn’t cover developing your own themes because it’s not my area of expertise.
They’re All Similar, Actually.
Regardless of the theme you choose, they all have a similar structure that might vary slightly. However, you’ll almost always find these files in your repository after copying and configuring the theme:
<your_repo>/
├── _posts/
│   └── my-cool-post-04-05-2023.md
├── index.html
├── Gemfile
├── _config.yml
├── 404.md
└── about.md
The _posts directory contains markdown files, usually named based on the post title and date. index.html, 404.md, and about.md might be located in different places, such as a pages directory, but _config.yml should always be in the root. This file contains all the parameters used by your Jekyll theme, such as author name and social media links variables, and configurations for plugins like Google Analytics, Disqus, and Buy Me a Coffee, etc.
Don’t forget to run bundle install and bundle exec jekyll build in your repository locally.
If everything is set up correctly, you should be able to start your site locally from your repo with this command:
bundle exec jekyll serve
If you encounter any errors, don’t hesitate to search for solutions online. The Jekyll community is vast, and you’ll likely find a solution for your error in 9 out of 10 cases.
Another important aspect is Front Matter, which is a metadata block for each post. Every markdown file for your post should have this as the first part. Your theme should provide a few examples in the _posts directory and a section in the documentation describing the possible content of your theme’s Front Matter.
For example, the Front Matter of one of my posts with the portfolYOU theme looks like this:
---
title: Currying
tags: [Functional Programming]
style: border
color: info
description: Quick dive into a function programming trick.
---
Take your time to experiment. Create a new post, run Jekyll locally, and check that it renders correctly.
When you’re ready, commit all your changes and push your repo on GitHub.
Configuring GitHub Pages with Jekyll
Once you’ve pushed your repository to GitHub, everything should work seamlessly. By default, GitHub Pages serves the main branch from your <username>.github.io repository under the same pattern domain (e.g., <username>.github.io).
To confirm that everything is functioning properly, check the domain after pushing (you might need to wait for 5-10 minutes, but usually, it deploys faster). GitHub Pages will always look for pushes on configured branch and redeploy Jekyll.
The best way to verify the status of your page is through the settings. Navigate to your repo page and click on settings:
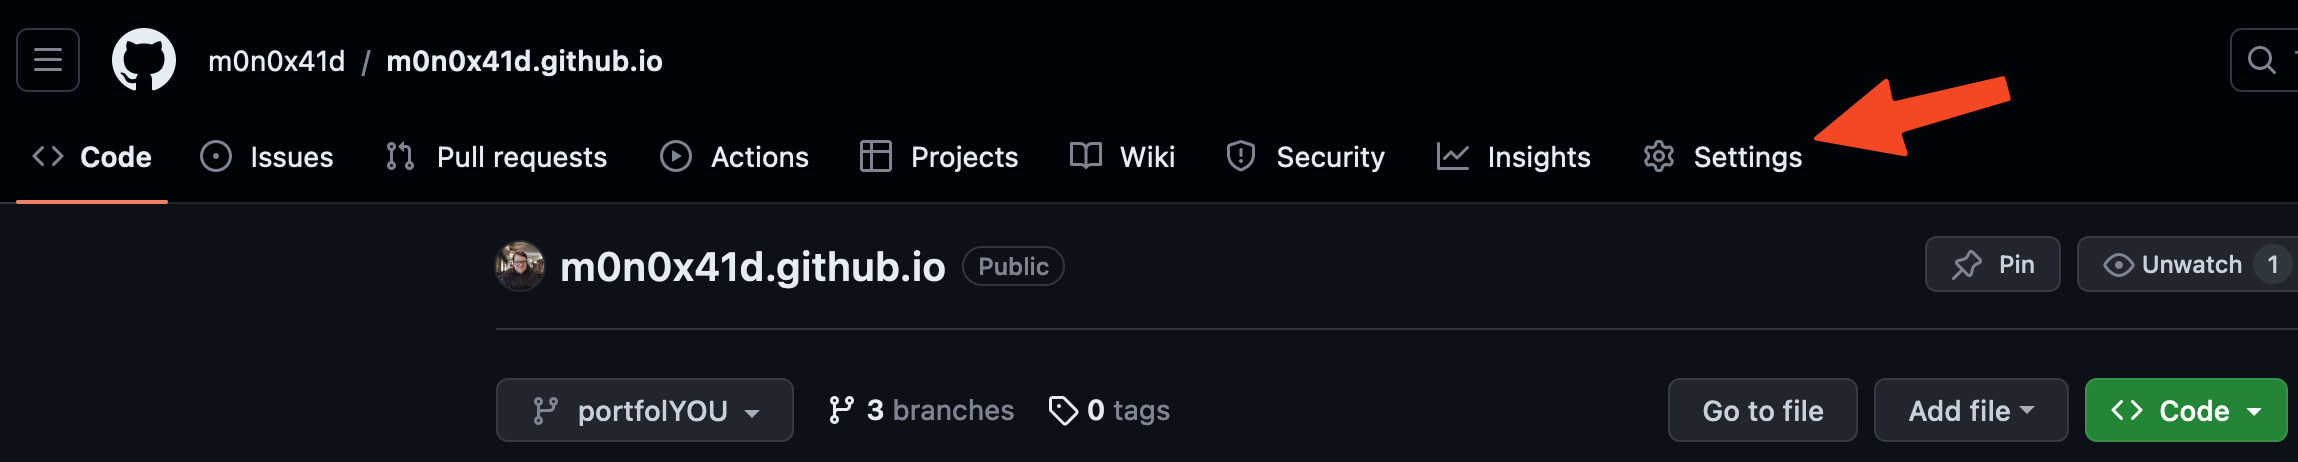
Next, go to Pages under the Code and automation section:
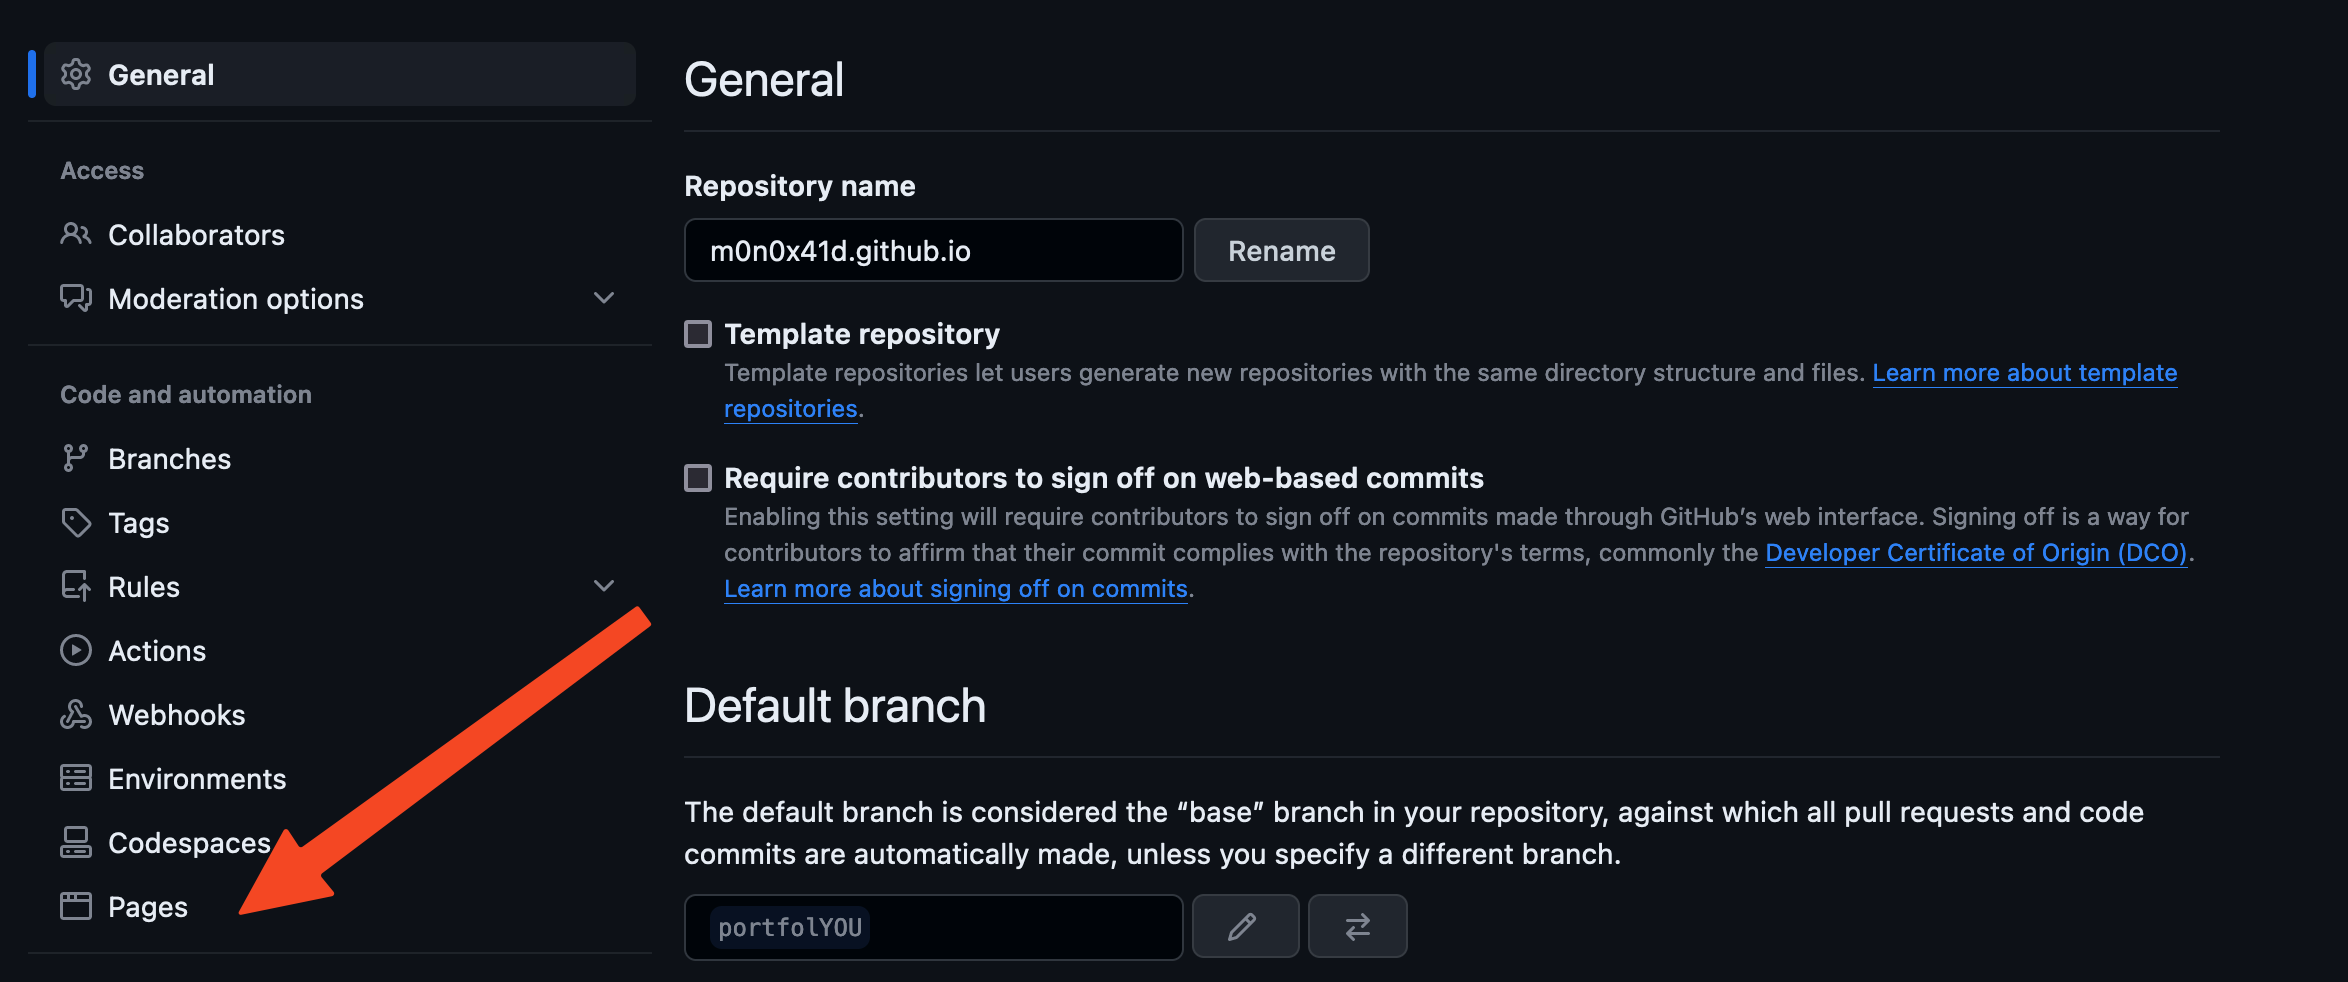
Here, you should see something like this:
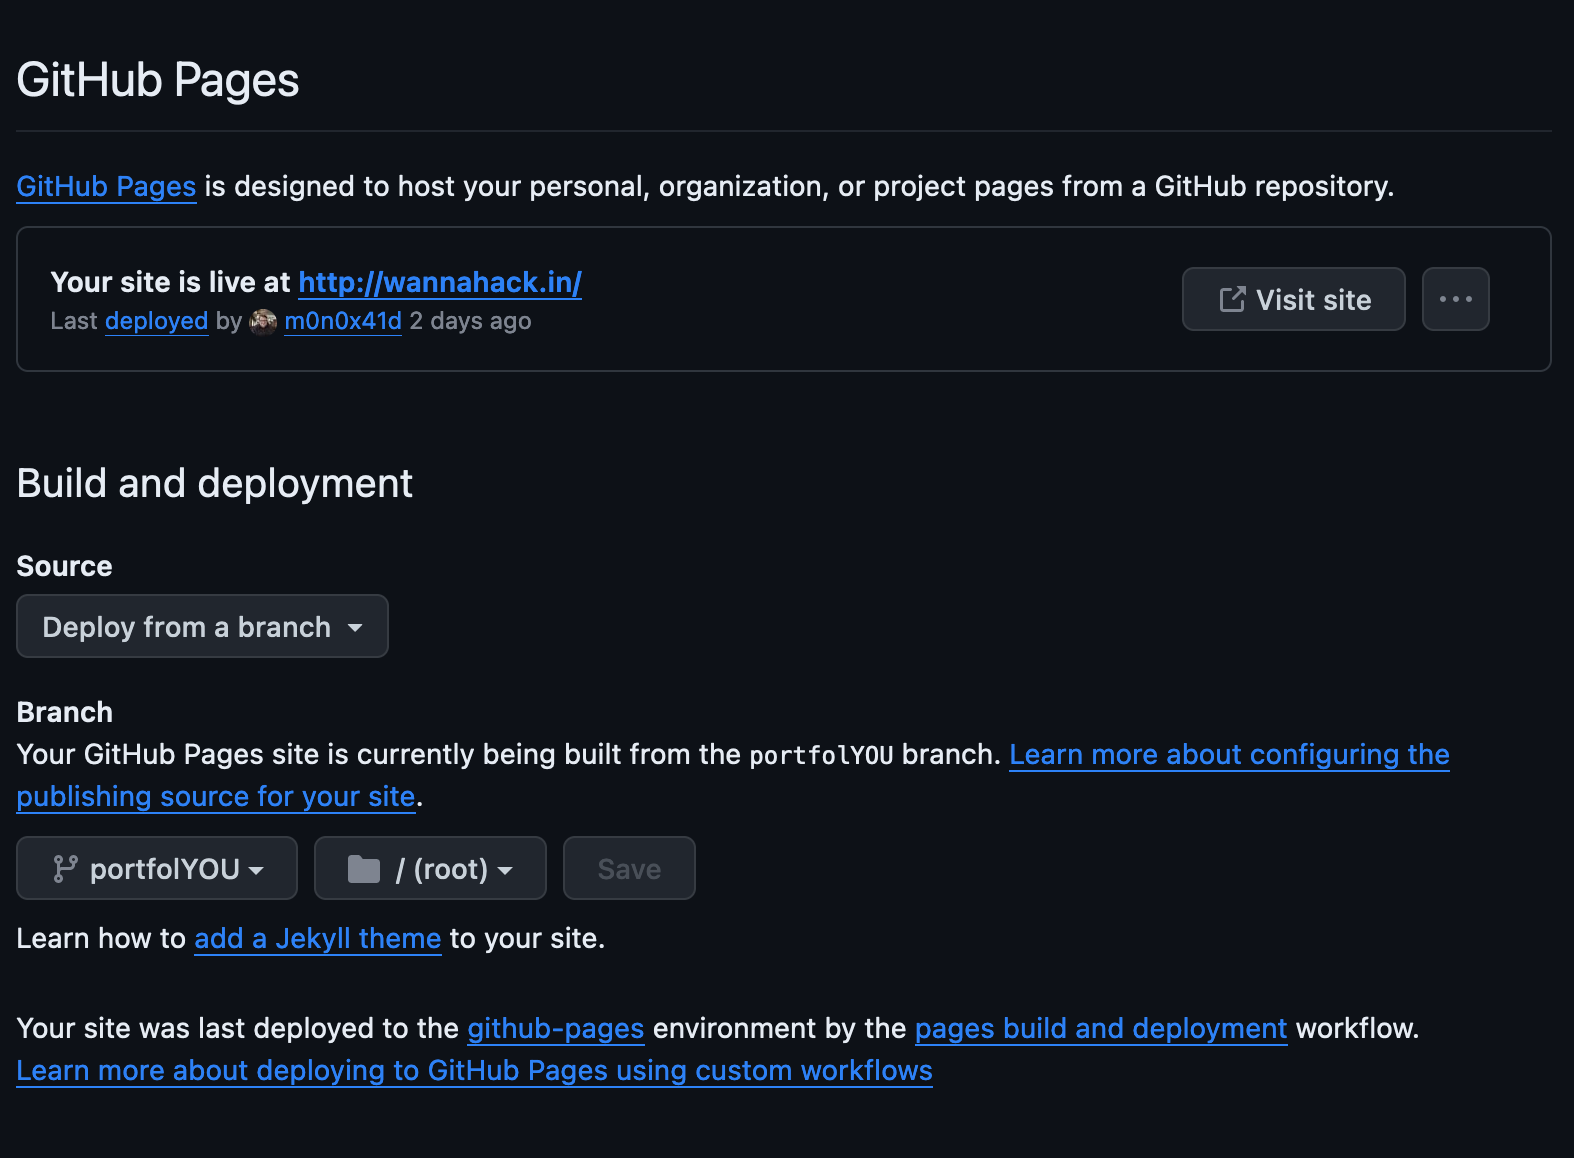
In the first form, you should see the message: Your site is live at https://<username>.github.io.
If not, something might have gone wrong, and you may need to refer to GitHub Pages’ documentation. However, as of the time I’m writing this blog, everything covered above is more than enough to go online with Jekyll on GitHub.
Bonus: Custom Domain for Your GitHub Page
You can easily buy a domain for your site/blog and set it up with GitHub Pages. This process is well explained in the docs.
My personal recommendation (this is not an advertisement) is to delegate your domain from the registrar to CloudFlare and configure everything from there. With a free CloudFlare account, you get a free CDN for static content, convenient DNS settings with DNA proxying possibilities, and URL rules. Give it a try, and you might love CloudFlare as much as I do.
Conclusion
Today, we’ve covered an almost free (except for the domain cost) way to set up and serve a static site. The fantastic advantage of using Jekyll is that you don’t need a database, hosting, or face any other potential difficulties and headaches to run a nice and fast static site.
What’s even better is that your posts are stored in a standard format. So someday, if you decide to change the theme, all your posts will stay with you, with minor or even no changes required (you might need to modify something in the Front Matter for the new theme, but this can be easily automated with a few lines of Python code).
Additionally, static sites and GitHub are incredibly SEO-friendly. For example, on my own site, I don’t mention my surname. Still, all my social media and site have cross-links to each other. Googling my full name results in 3 out of the first 5 links being my LinkedIn, my personal blog, and my GitHub – all achieved with almost zero effort and costs :)
Here are a few links that might help you in setting up your Jekyll site:
- Jekyll Quickstart Documentation
- GitHub Pages documentation
- A helpful video by Techno Tim on how to use and set up a Jekyll theme with GitHub Pages
- Jekyll source code on GitHub – take a look at it if you’re eager to build your own theme and dive deep into Jekyll overall.
So, come on, build your personal brand! What are you waiting for?